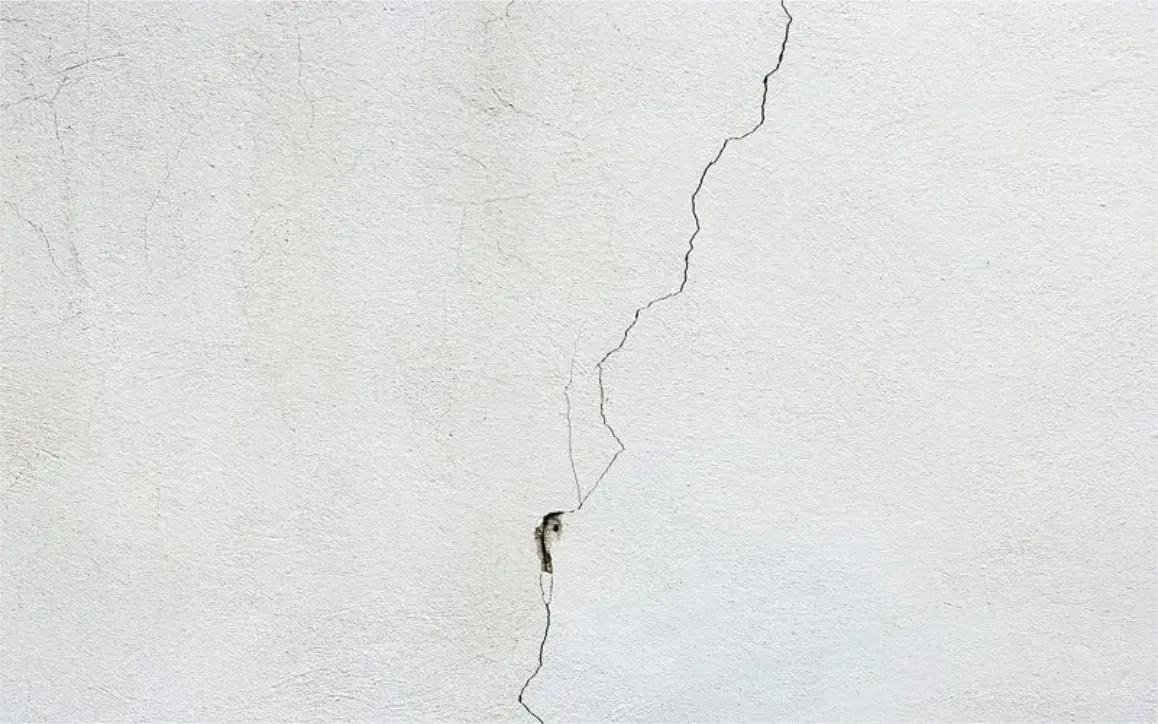
Wall cracks – they’re bound to happen. Over time as a house gets older, the foundation starts to settle and for whatever reason, those annoying little cracks pop up on your wall. Here’s the best way for you to patch up those minor cracks for drywall or plaster walls all on your own.
- Using a utility knife, cut a 1/8 inch to 1/4 inch V-notch along the length of the crack. Remove any loose wall material surrounding the crack in the process.
- Vacuum out any loose material. If the crack is more than 1/4 inch deep, it is best to use a quick-setting crack filler to build the area level before continuing.
- Cover the crack. There are two ways to do this. You can use a mesh joint tape or joint compound and paper tape. Embed the paper tape in the joint compound using a 6-inch taping blade. Moisten the paper tape with water to avoid trapping any air bubbles. Lay the moistened tape over the crack and squeeze out any compound or air that is underneath with the taping blade.
- Apply a thin layer of joint compound that extends to 2 inches on either side of the crack. Let dry.
- Apply a second (and if needed a third) layer of joint compound and feather it out about 6 to 7 inches on either side of the crack. Smooth the compound with a 12-inch taping blade until it’s a thin, even coat. Allow the area to dry overnight.
- Once thoroughly dried, lightly sand the area until it is smooth and flush with the wall. The area is now ready to be painted.
Screed Warehouse can help you find all the materials you need to fix any wall cracks you may be fed up with. For more information, contact us at 0330 118 0952